Google has revamped their sign-up process - these instructions may vary slightly. Google is now requiring some users to pre-pay anywhere between $10–$50 USD before their billing account is considered registered.
Requirements
- A valid credit card
This service is free for the first 500,000 characters per month. Going over that limit will incur charges. 500,000 characters is a lot - unless you’re doing 10+ hours of story content per day, you’re more than fine. See Cloud Translation pricing for details. dqxclarity uses the “Cloud Translation - Basic” tier.
Create Your Google Project
- Navigate to the Google Cloud Console. Log in if prompted.
- In the top menu, click Select a project.

- Click NEW PROJECT.

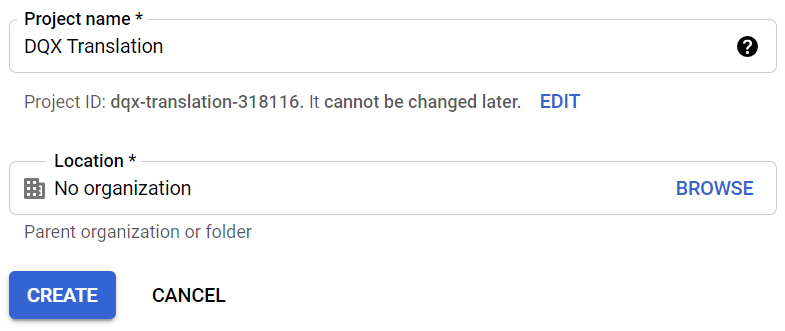
- Give the project a recognizable name - something like “DQX Translation” - then click Create. You’ll be taken back to the main dashboard.
Set Up Your Billing Account
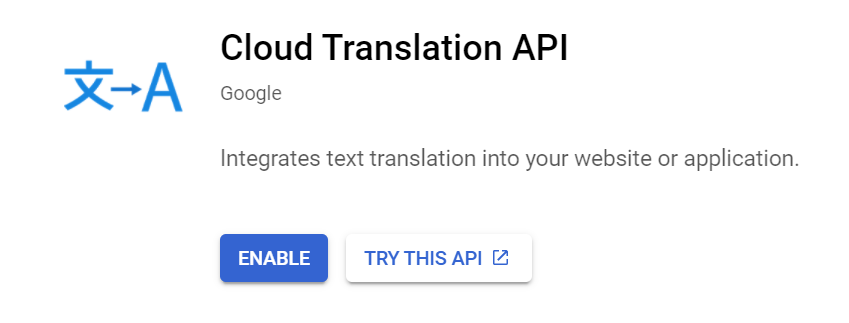
- Type translate in the search bar at the top and select Cloud Translation API.

- Click Enable to enable the Cloud Translation API for your project.
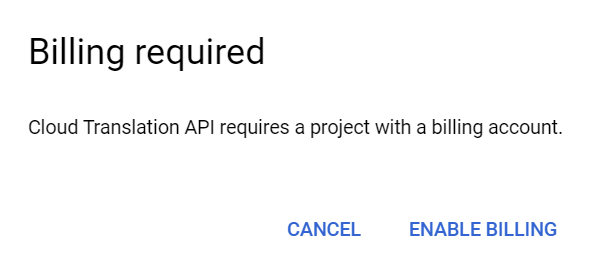
- You’ll be prompted to link a billing account. Click ENABLE BILLING.
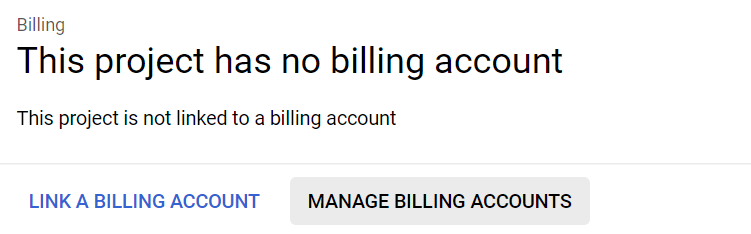
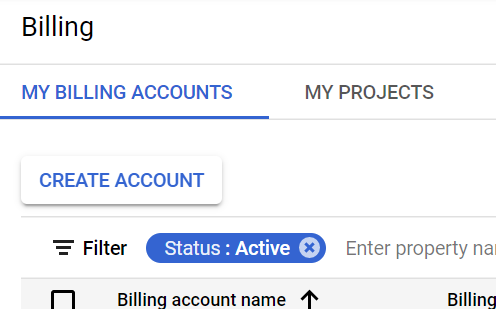
- Click MANAGE BILLING ACCOUNTS.
- Click CREATE ACCOUNT.
- Name your billing account something meaningful (like “my credit card”), select your country, then click CONTINUE.
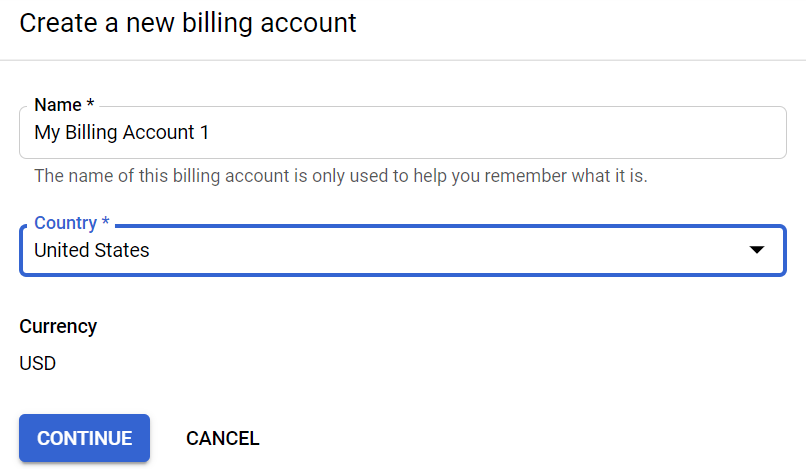
- Add or select a payment method, then click SUBMIT AND ENABLE BILLING.

Set Up Billing Alerts
This ensures you get notified before you’re actually charged anything.
- From the billing screen, click Budgets & alerts.
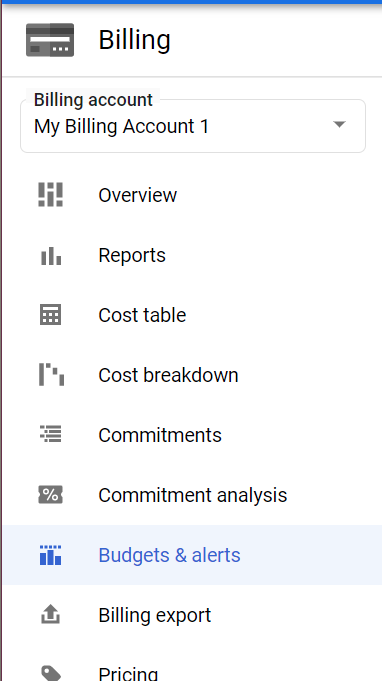
- Click CREATE BUDGET.

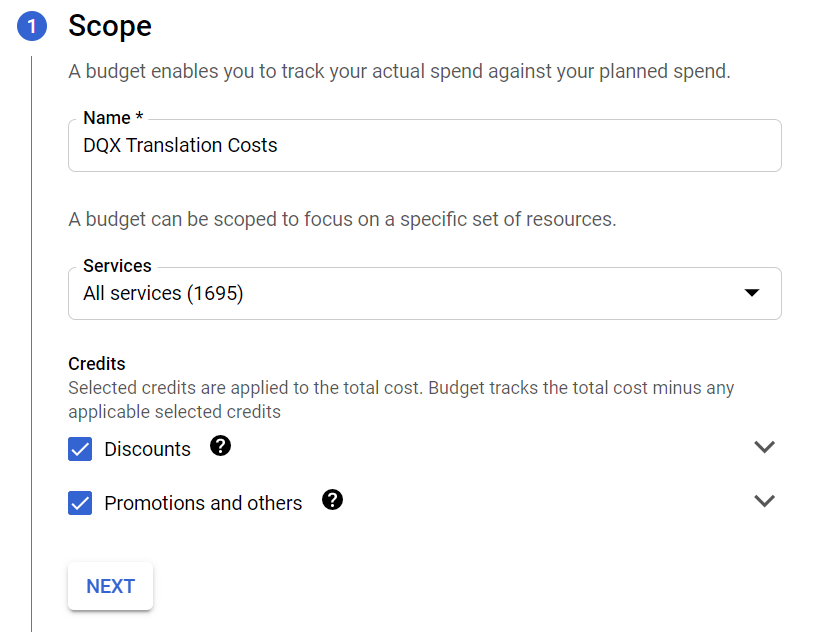
- Give it a name like “DQX Translation Costs”.
- Leave all services selected and discounts/promotions checked, then click NEXT.
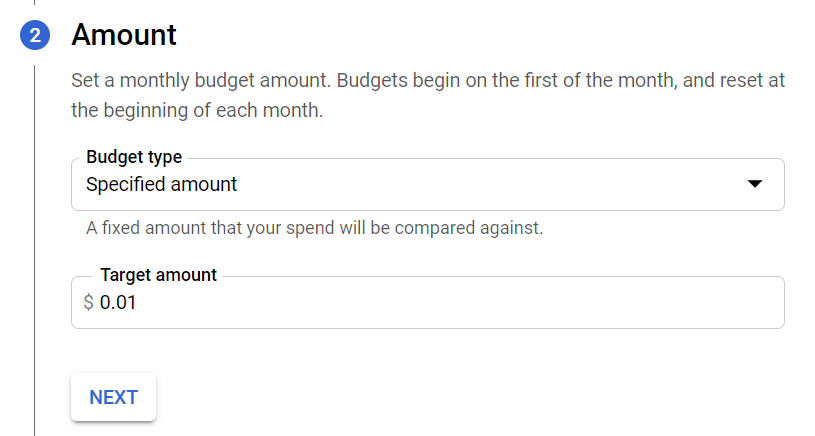
- Set the budget amount to $10.00 USD (or local equivalent).
Google provides a $10 monthly credit against the Translation API, applied at the end of the billing cycle. You’ll see a bill for usage, then the credit offsets it - up to $10. Set your alert at $10 so you know when you’re about to exceed the free tier.
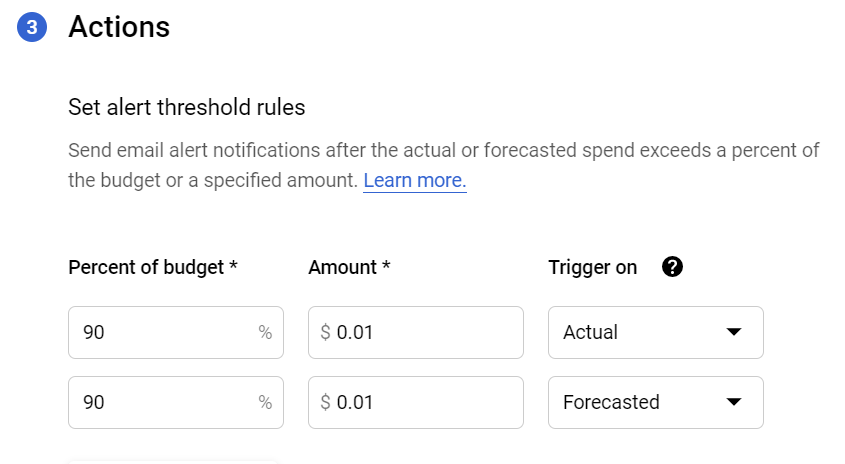
- Set your thresholds (e.g. 50%, 90%, 100%) so you get warned before you’re charged.
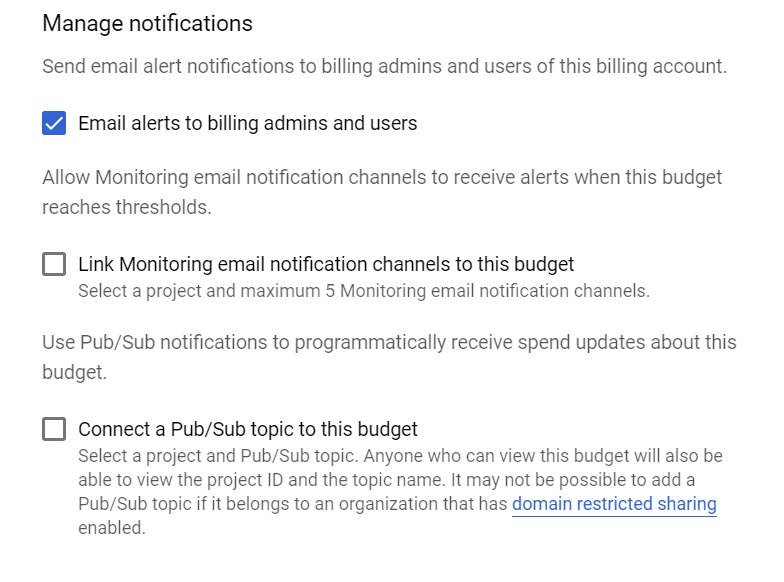
- Keep Email alerts to billing admins and users checked, then click FINISH.
Enable the Translation API
- Type translate in the search bar again and click Cloud Translation API.
- Click ENABLE.
- Click ENABLE BILLING and select the billing account you just created.
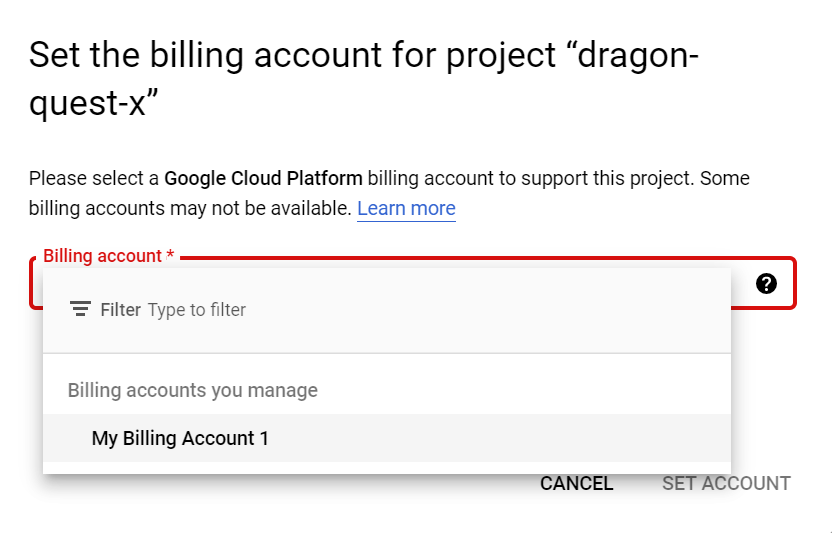
- Click SET ACCOUNT.
Create Your API Credential
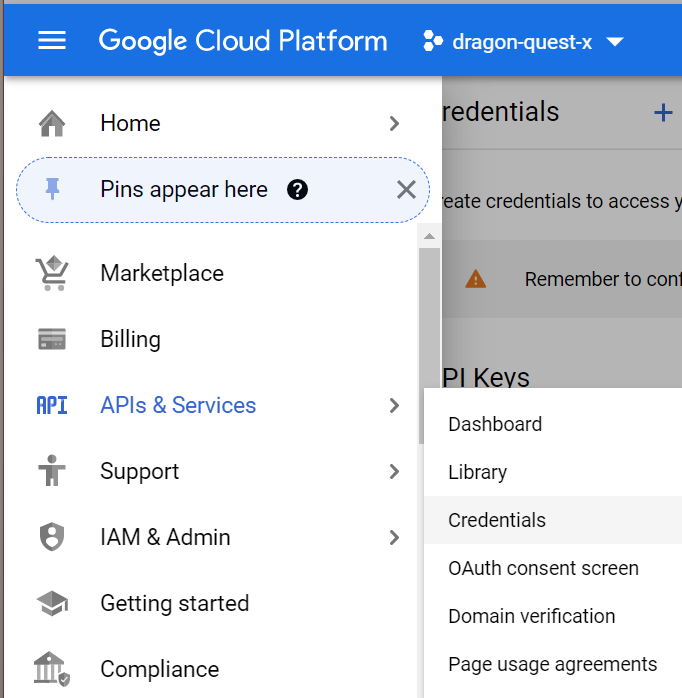
- Click the hamburger menu (top left) → APIs and Services → Credentials.
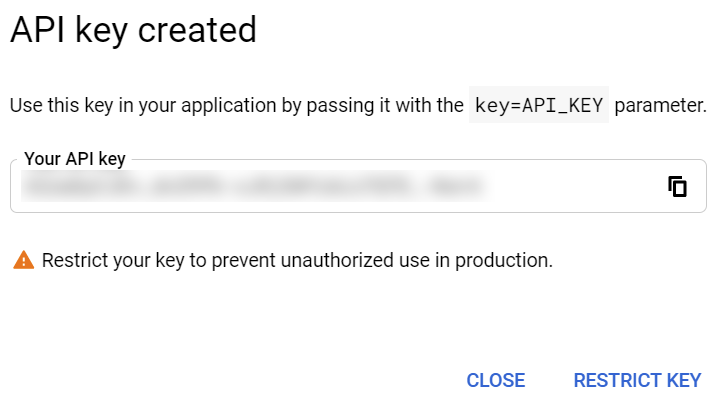
- Click CREATE CREDENTIALS at the top, then click API Key.

- Copy this API key and save it somewhere safe. It’s essentially your password. Then click Restrict Key in the bottom right.
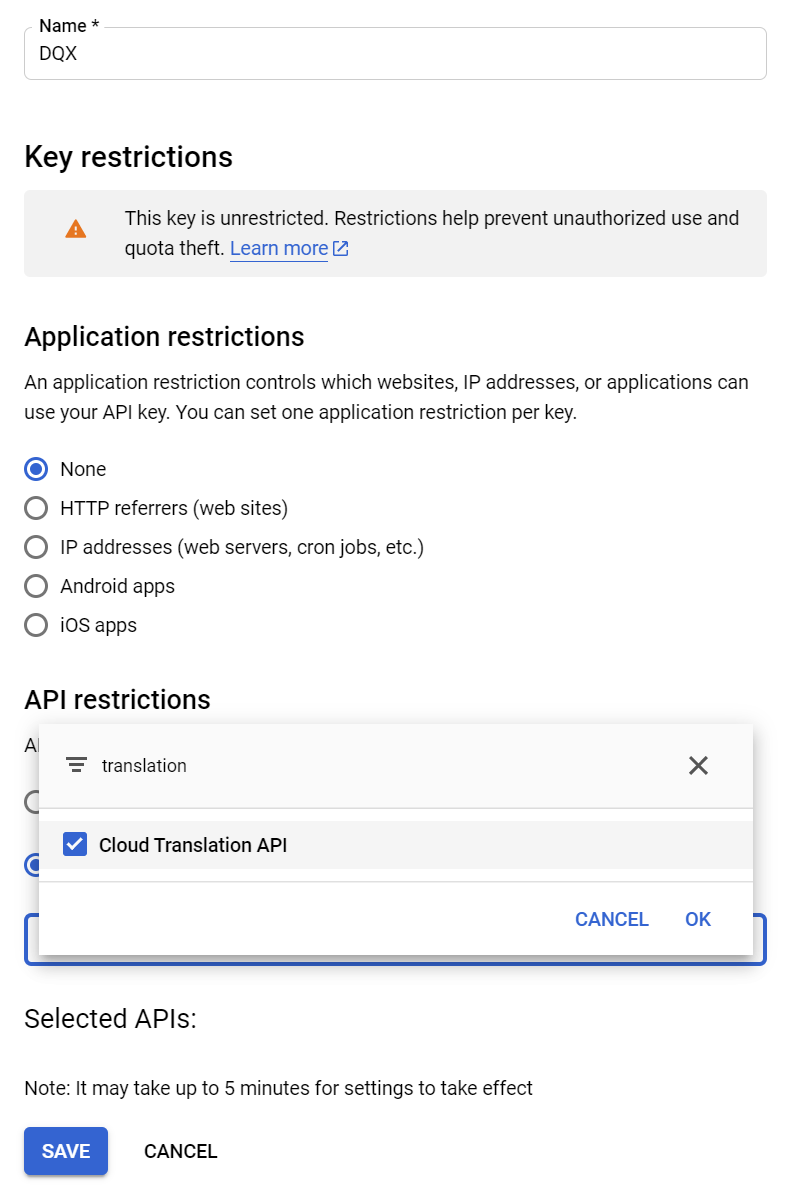
- Give the key a meaningful name. Under API restrictions, click Restrict key, type translation in the filter, and select Cloud Translation API. Click SAVE.
Enter the API key you copied into dqxclarity under the Google API section and you’re good to go.